Pages

Showing posts with label Joins. Show all posts

Friday, 25 October 2019

Bookmark these daisies………

Tatters need to empty shuttles every time to take up new projects 
which may result in beautiful lace or motif patterns. 
My emptying shuttles resulted in…………………
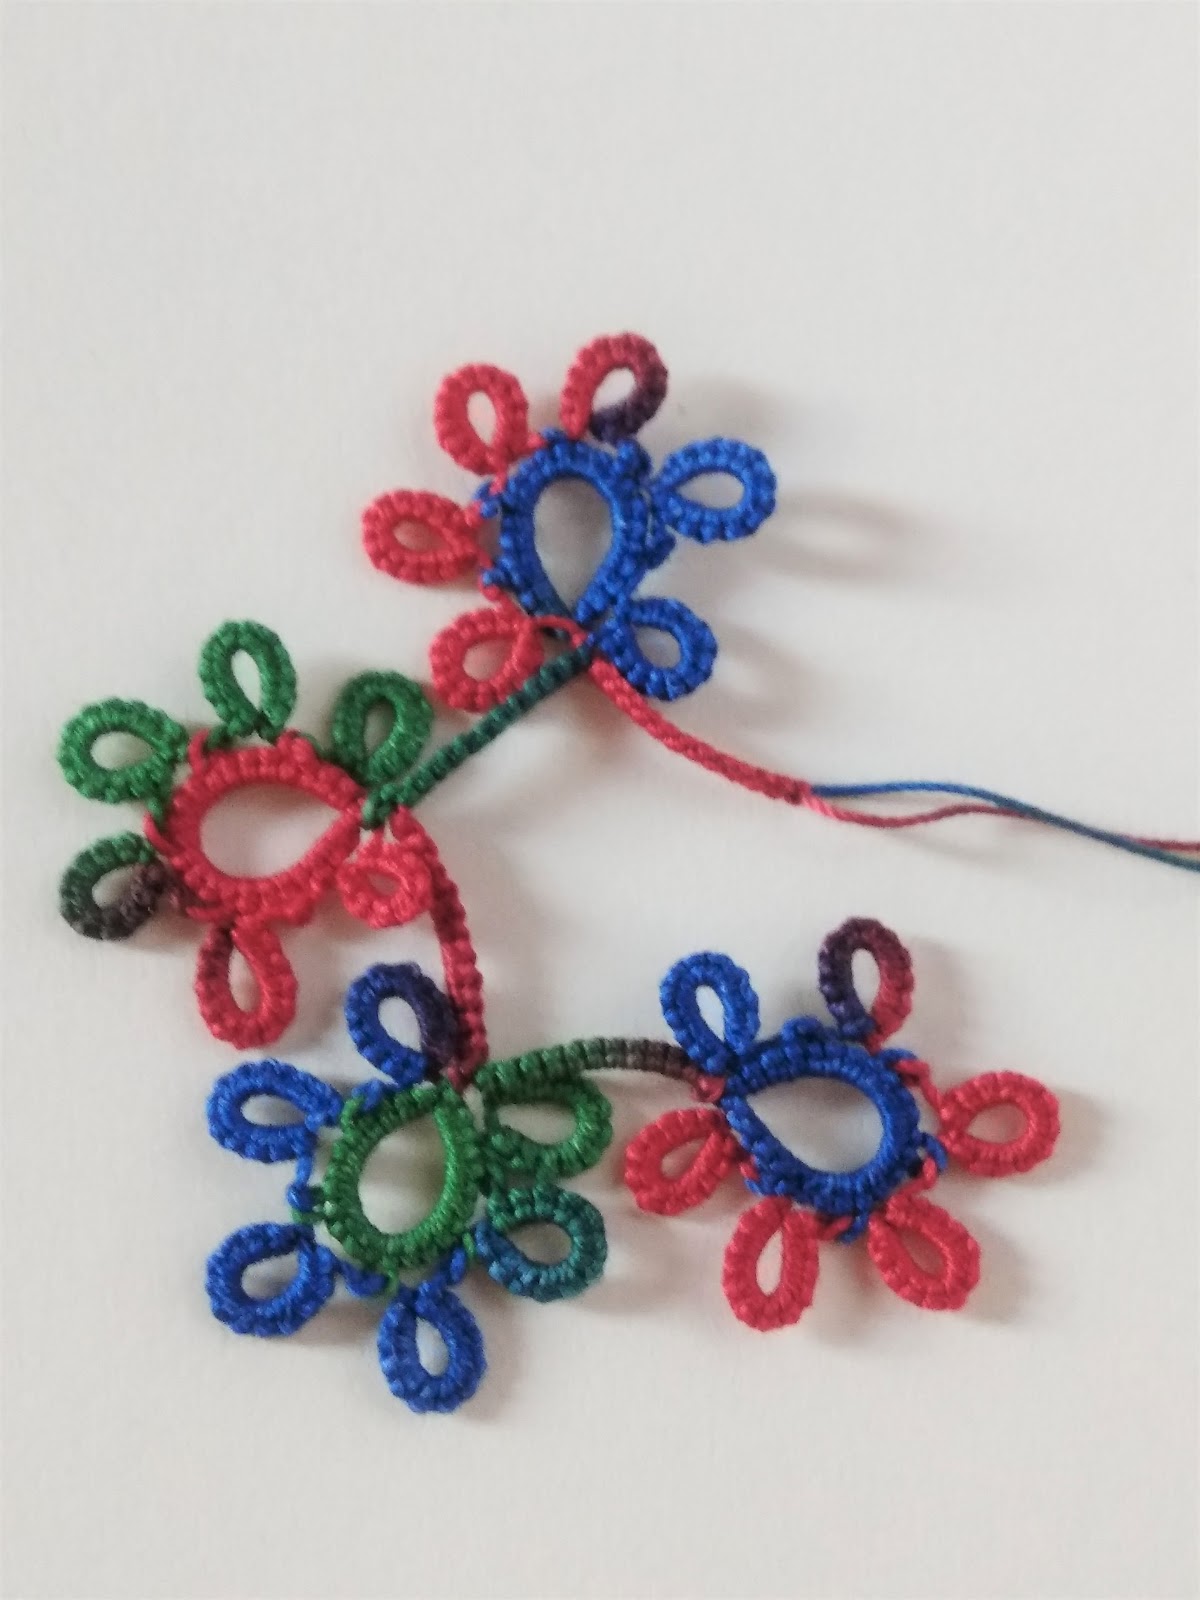
First try with single variegated thread  
and another with two sold color threads.
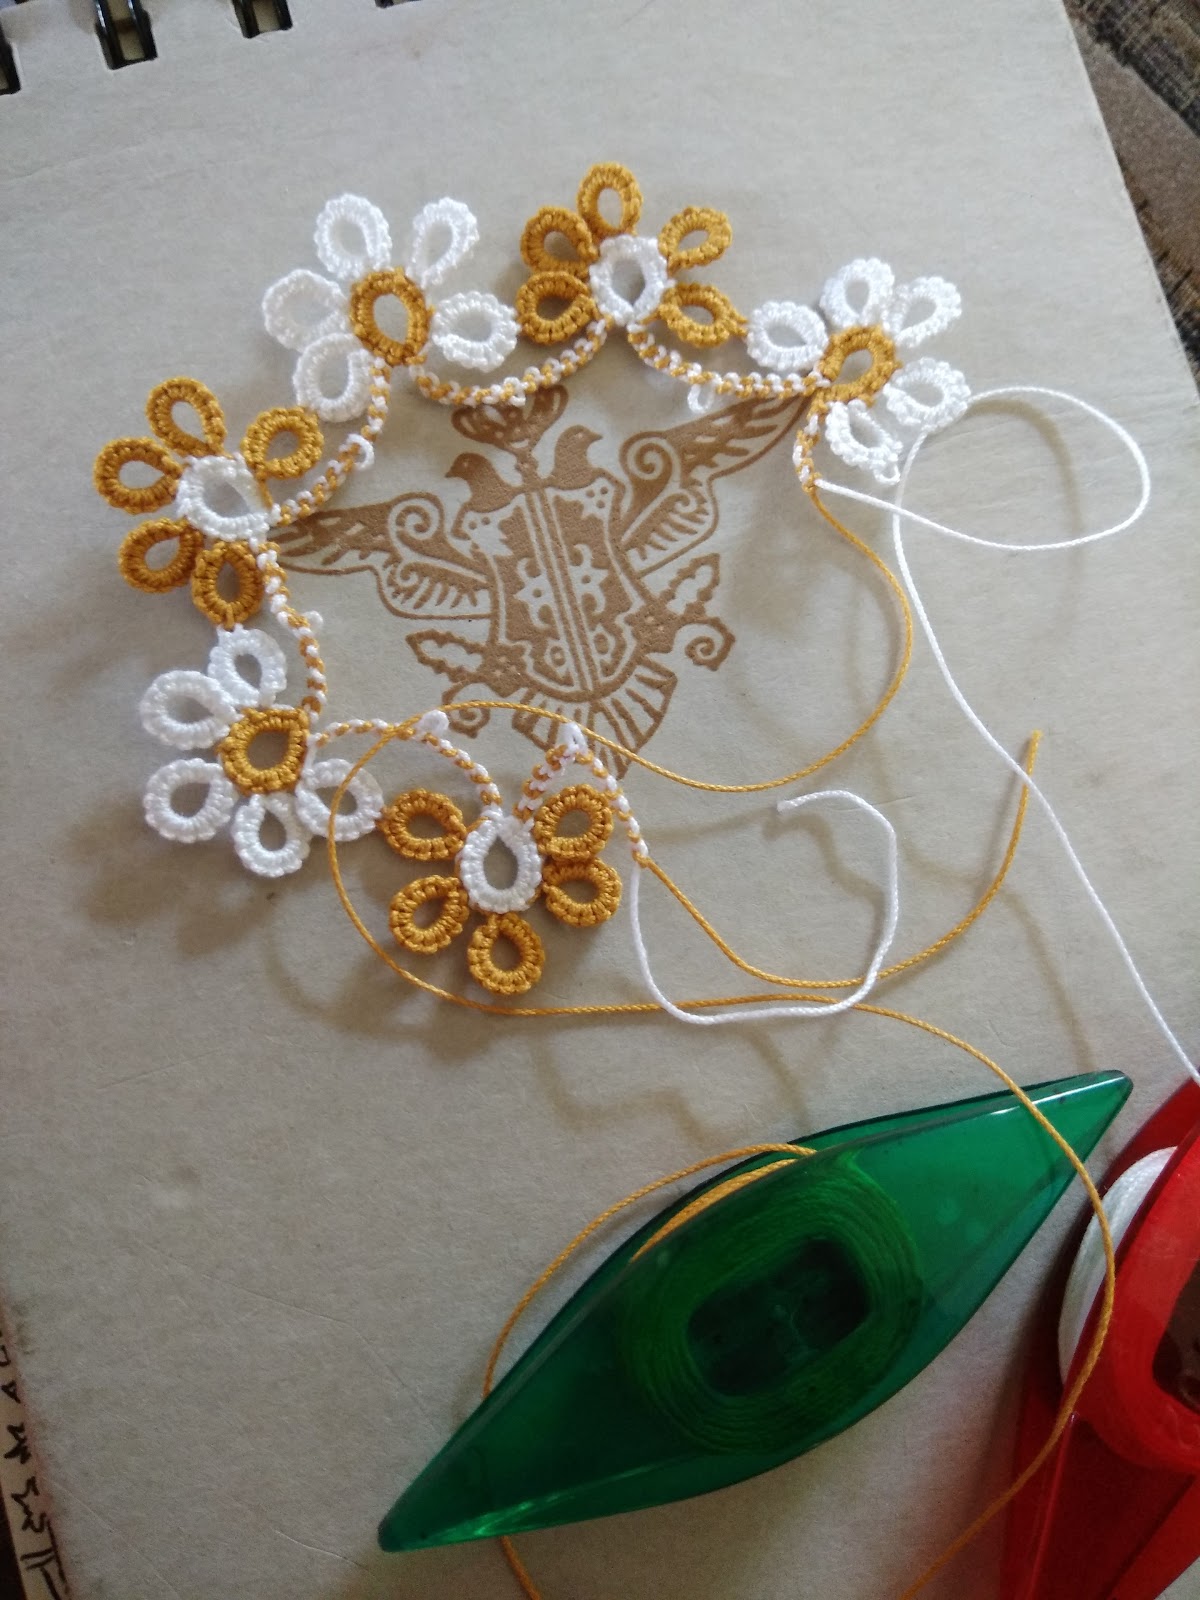
My tatter friend Madhur reminded me that the motif which 
came up was exactly same as the first two rows of her Unending Doily
What a coincidence, she also tatted the doily to empty the shuttles. 
The first trial shows the bare thread over the center ring and shuttle 
join in each picot which are fairly visible.
In another attempt I used two solid colors where the pattern shows no 
bare thread nor any join. It was tricky to hide the bare thread 
and tat without joins.
Finally it ended up in Bloomrings Bookmark pattern 
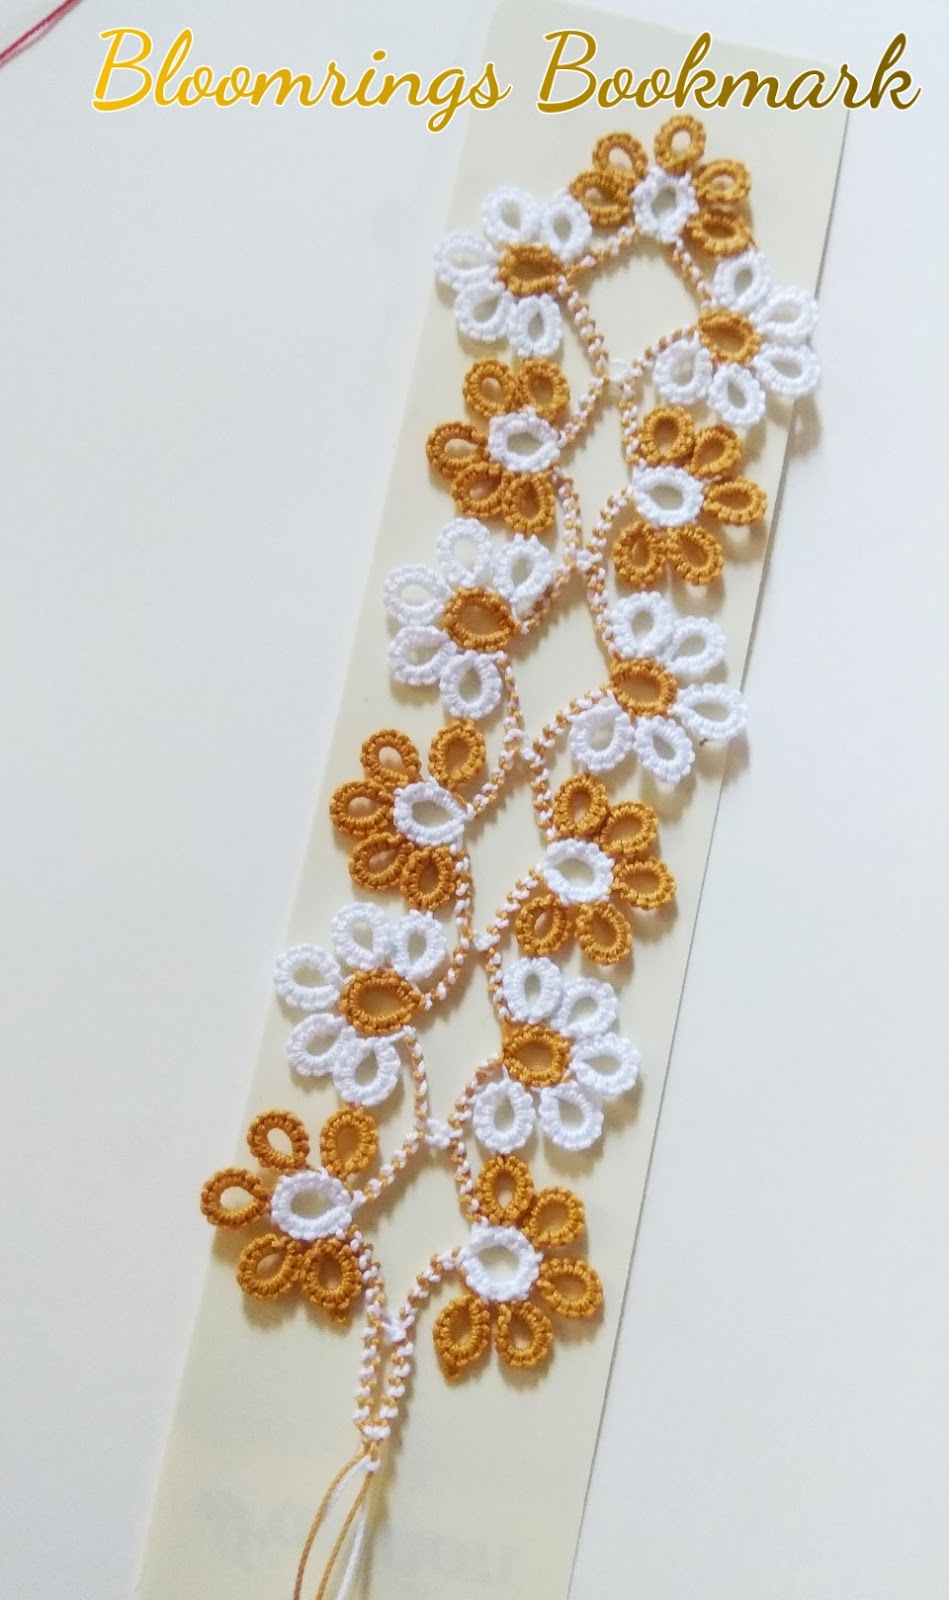
Bloomrings Bookmark pattern - PDF 
This pattern is tatted with Hidden Picot method for rings and 
lock chain stitch method for joining the motifs.
Hidden Picot(HP) is a very very small picot, automatically made 
between the double stitches and hidden behind the thrown rings 
off the center ring.
From my Indian Happy Tatters Group, Magnus tried this pattern 
and came up with this attractive color combination.
This is not a test tatted pattern but hope you find it easy to tat.


Your valuable suggestions and comments are always welcome.


Wish you all……………..HAPPY TATTING.......... 


Tuesday, 24 July 2018

Delighful Effects of CWJ

Dear friends, keeping in mind the soon approaching Indian festival of Rakshabandhan,
I found some new ways to use tatted motifs for ‘Rakhis’. Rakhis are basically bracelets
made with silk threads in vibrant colors. A sister ties Rakhi on the wrist of her brother to
show her true love. Rakshabandhan is a festival of love and  joy.
My focus was on Catherine wheel join (CWJ) technique while tatting new Rakhi motifs
and these are the designs I came up with.
1. The Chocolatees…....
The chains in second round in these motifs are joined with CWJ.
The effect of the CWJ can be seen with clarity of picot in the first round.
2. The simple yet elegant……
The white shiny thread gives an elegant look. The joins are made with CWJ.
3. The bare thread delight…...
Here’s a variation of color for the same pattern. I am happy to share this new effect of
bare thread over the rings and CWJ. Many tatters hate bare the thread idea but I am
sure that they too shall love this effect. I will share the pattern in my next post.
4. Dot Picot Delight....
Simple motif with six rings with single color. Join contrast color for the next round using 
Dot Picot String on upper part of each Ring joined with CWJ 
5. Variation with BareThread…….
Bare thread and two CWJs on each ring with and without beads.
6. Sandwiching the bare thread….

In the above two, one more round of chains with and without picots is added over the bare thread. 

The strings of all Rakhis are tatted with different techniques like Lock Chain Stitch, Pearl Tatting, Shoe Lace Trick etc.

Kindly post your views, comments, suggestions here.


HAPPY TATTING……………….


Wednesday, 6 June 2018

Sunrise over the Ocean

I have been working with my newly found effect of CWJDuring my recent visit to Andaman Islands, I watched a beautiful sunrise over blue crystal clear water with white foam over it. The bright rising sun and the waves of the ocean fascinated me. For the first time I felt like capturing the nature’s beauty into tatting art.
And surprisingly  it looked like a Sunrise over the Ocean ………………..
                                       
Tatting of long and short loops alternately with  lp_cwj  came out like rays of the bright rising sun.
Sharing below a step by step pictorial of working of the sunrise motif.
 Pic 1- Round1-  Started with a half closed Maltese ring with two shades of yellow. RW
Pic 2- Round 2- Short loops with lp_cwj in each picot on the first round. RW
Pic 3 - gives clear pic of short loops of alternate color after completion of the 2nd Round.
Pic 4- Round 3- Last round with both long and short loops as shown.The orange thread  is inserted with overlay method  to get real effect of the Sun.
                                 
The motif had to be blocked and stiffened to get the perfect shape of the Rising Sun.
The waves were tatted with chains of alternate (white and sky blue) colors by switching shuttles.
Before actually tatting the sunrise with real shades, I did one trial with half closed ring with cool purple shades, which looked like a rising sun of some other Galaxy.
lp_cwj  can do wonders. Still lot more to explore.
Kindly wait to see my new creations with lp_cwj in the next blog post.

I welcome your comments, likes, suggestions here.

Happy Tatting 

Saturday, 5 May 2018

The Joining Effect!!!


I am happy to share Charming Frills, the stunning effect created out of the combination of Long Picot(LP) and Catherine Wheel Join(CWJ).
The idea of this pendant  came up after tatting the basic onion ring in two colors. 
My first version was…....

Georgia’s Reaction after seeing the pic was…...
“OH how intriguing! I see a vague resemblance to needle lace and frisaso de valladolid but I have not seen in tatting as far as I can remember.”
 She found some resemblance to needle lace because of the frilly look of the pendant.

Muskaan helped me to find references of the effects of long picots tatted by other tatters. I started writing the pattern for the pendant with her. We both had lots of discussions online for naming this frill effect. Finally I used the notation lp_cwj for the presentation purpose. Layered long picots with Contrasting thread colors added beauty to the tatted pendant. The long picots tatted in multiples in consecutive layers gave beautiful frilled edging. This combo of Long Picot and CWJ can be used as a filler, multi-tiered, or as a frill/fringe.

Other joins like
1)    Catherine Wheel Join in Round 2
2)     Alligator Join in Round 3
3)     Picot Join in Round 4  
have been used along with other techniques like Thrown Ring, Split Chain, Shoe Lace Trick and Switching Shuttles to tat in one pass.

Picot on the thrown ring can be used to add a jump ring, a pendant hook or an earring finding.


Working of this joining effect - lp_cwj is shown in the pic below.
This frilled pendant is tatted in five rounds. Rounds 1-3 are worked in clockwise direction; round 4 moves from left to right and Round 5 moves from right to left, when seen from the front.

The detailed PDF Pattern Link - Charming Frills with step by step pics.


Its important to note the working of round 5, where we have to make the joins through the orange bars seen on backside. Insert a crochet hook through the orange bar from behind, pull up a loop to proceed.
Loads of thanks to Muskaan for test tatting Charming Frills and the immense help in finalizing the pattern. Kindly check her blog  to see her version of Charming Frills.
Using the same effect of lp_cwj, I tatted a medallion- Fringed Petals


I invite tatters to test tat this medallion.
kindly e-mail me - shuttlecreation@gmail.com
Feel free to post your comments , suggestions here.

HAPPY TATTING .......always.............
Sunday, 2 July 2017

Love This Fusion!!!

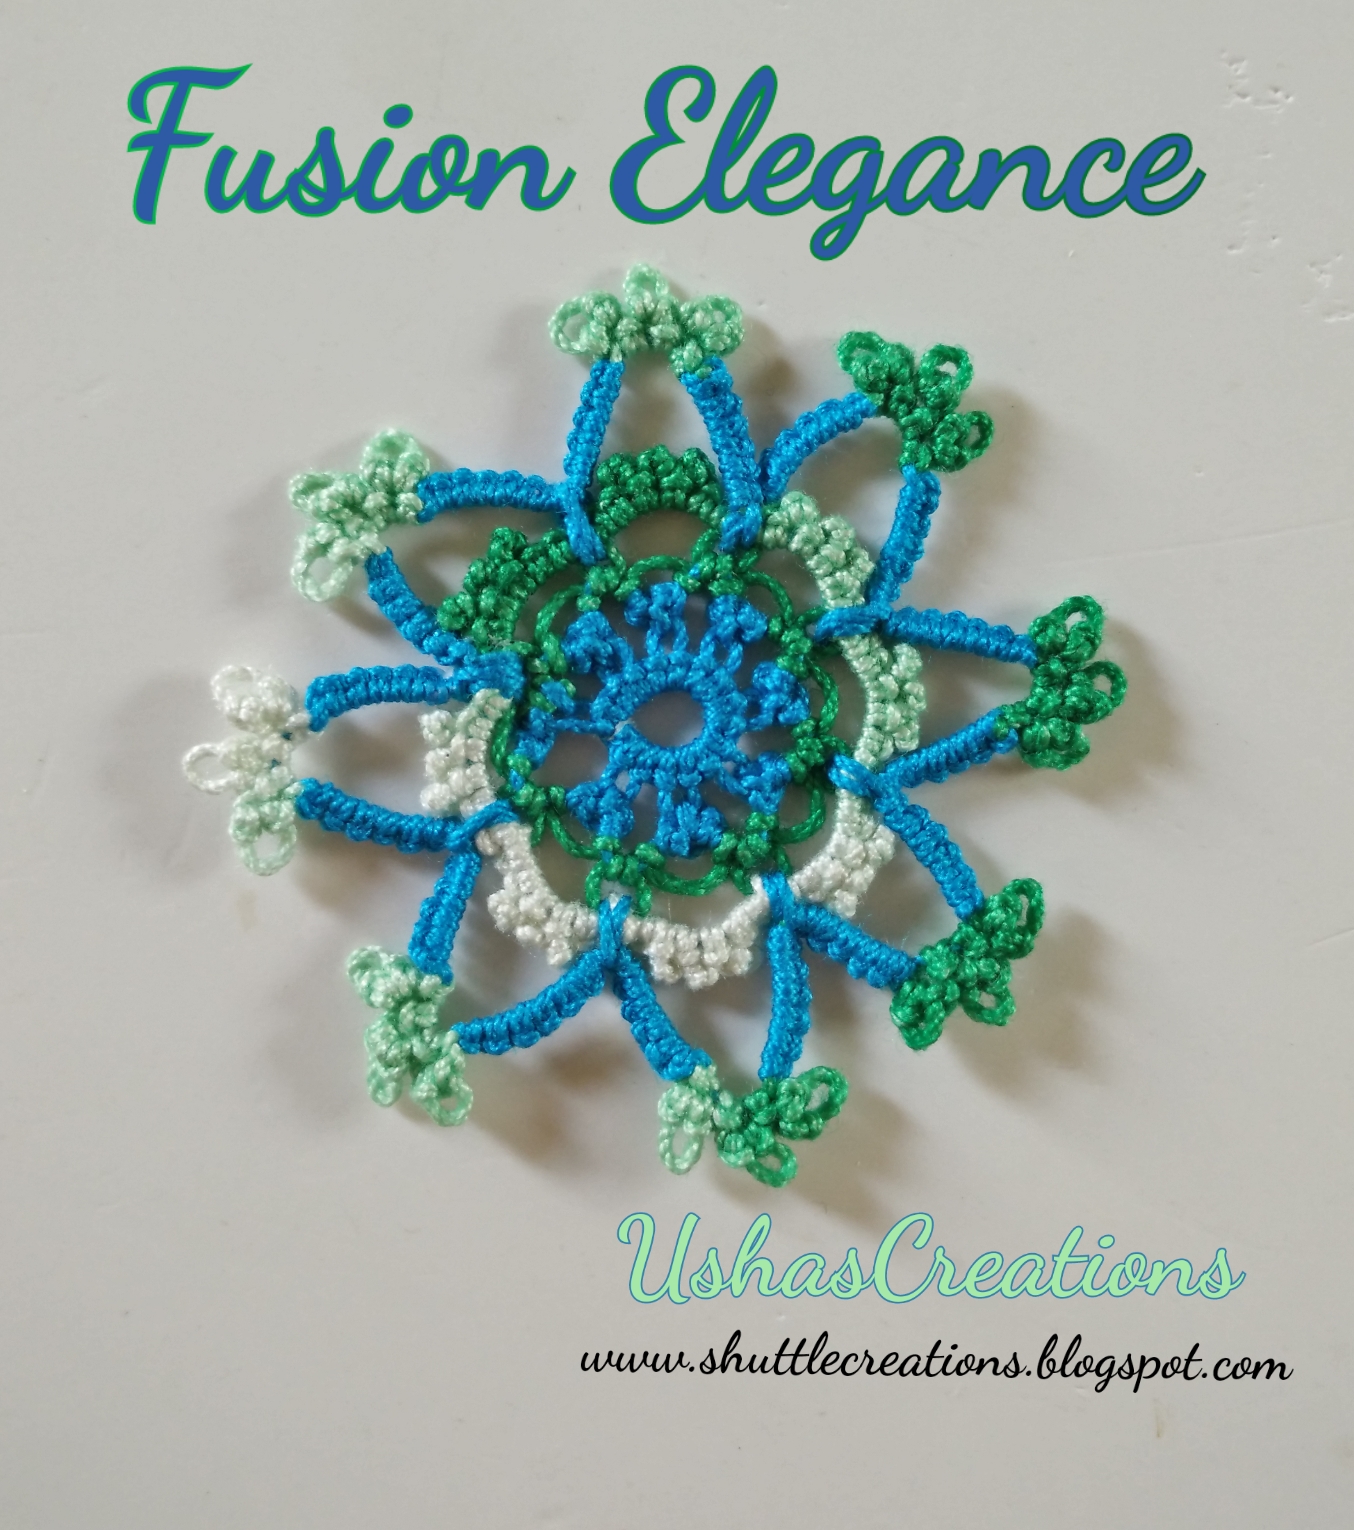
Here is a star medallion, which I have managed to tat tiny dots and tiny dainty dot picots both in one motif. It is an elegant motif with fusion of two techniques, hence I named it Fusion Elegance.
This star motif was test tatted by Marie McCurry. Her motif came out amazingly beautiful.  I thank her for all efforts and valuable suggestions for my pattern writing.
Download the detailed PDF pattern here: Fusion Elegance
I have given step by step pictorial instructions in this PDF pattern.
Main highlight of this medallion is…..
1.Small space between two chains in second round tatted with (1ds P 1ds) dots.
2.The third round is tatted with Dot Picots as thrown rings on chains.
3.Decorative lock joins made in fourth round at eight points to break continuity of one colour.
Sharing my experiment with initial pics below………..
While climbing out to second round of this motif, I was confused where to attach SH2. I needed blue color to make a mock picot to complete first round (See pic 1,2)and Split Ring for the second round. I decided to leave 7cm thread of SH1 at the beginning of the first round.
The same thread was used till I climbed out with Split Ring,(See Pic 3) reversed the work and joined SH2 to continue the pattern.
Another variation
I am glad that Marie was happy with my written instructions.
Hope you enjoy working it too.
Your comments ,suggestions are most welcome.
 Happy Tatting always........


Thursday, 29 June 2017

My Single Shuttle Laces

Tatting is a creative world!!!! Thanks everyone for positive response for My Single Shuttle Motifs.
Here I am sharing few of my own designs of single shuttle lace patterns with brief descriptions of each technique or effect used. These innovative ideas have come out of my Tatting Group's Single shuttle challenge. I would be happy to share patterns if anyone likes to try out my designs. Kindly email me for the same.
While tatting single shuttle laces, the only option was to tat rings in a row with or without bare thread. I thought of  replacing this bare thread using Dot Picots. I visualized lot of potential lying in the tiny ring of one double stitch. The Dot Picots can be used in many ways to make tatted pieces more ornamental.
I tatted six dot picots close to each other on the shuttle thread and it looked like a beaded string.
While moving over to next ring in a simple lace, one can replace the bare thread, which is used to leave some space to avoid overlapping, with this string of Dot Picots .
1.Laces with Dot Picot Strings: I was obsessed with replacing the bare thread with dot picot strings and created some unique patterns  using normal rings, onion rings, dots, trefoils, roll-tatted rings. You can just zoom in to see each one.
2. Laces with Half Closed Rings: This technique is commonly used but Brown lace is tatted with little variation. The half closed rings are tatted in between the normal rings with lacy picots. The light brown is trefoil of half closed rings.
3. Laces using vsps: These laces are tatted with very small picots which are frequently used for joining rings or chains. All four laces are tatted using vsp(very small picot) technique and not by SSSR (Single Shuttle Split Rings), where the shuttle thread is lock joined from back side to tat another ring in same direction. 
4. Simple laces with and without picots: Simple laces on left are made with variation in picot gauge and variation in double stitches showing the bare thread giving delicate look. On the right side, some laces are tatted with normal rings, some with Josephine  rings, all without picots.
5. Laces with Inverted picots and cross picots: In green lace each ring has three inverted picots, two short inverted picots on either sides and one long inverted picot in middle.  All three picots are  lock joined after closing the ring, giving shape of coins. In this lace, long Picots can be replaced by beads. In the orange lace, long picots are joined diagonally to the next ring.
All above lace patterns are created by me out of restriction of using only one shuttle as per the Theme of my Tatting Group. 
Hope you like them all. 
Posting my group members work on laces soon..........

All your comments, suggestions, queries are welcome.

Tuesday, 20 June 2017

String them creatively!!!


Stringing Dot Picots on a bare thread, the idea entered in my mind while creating patterns with only a single shuttle for My Tatting Group's single shuttle challenge. After seeing the beautiful effect of the string, I could not resist converting every bare thread into a Dot Picot string. I used this effect on laces with single shuttle to avoid bare thread and which made the lace pattern more ornamental.

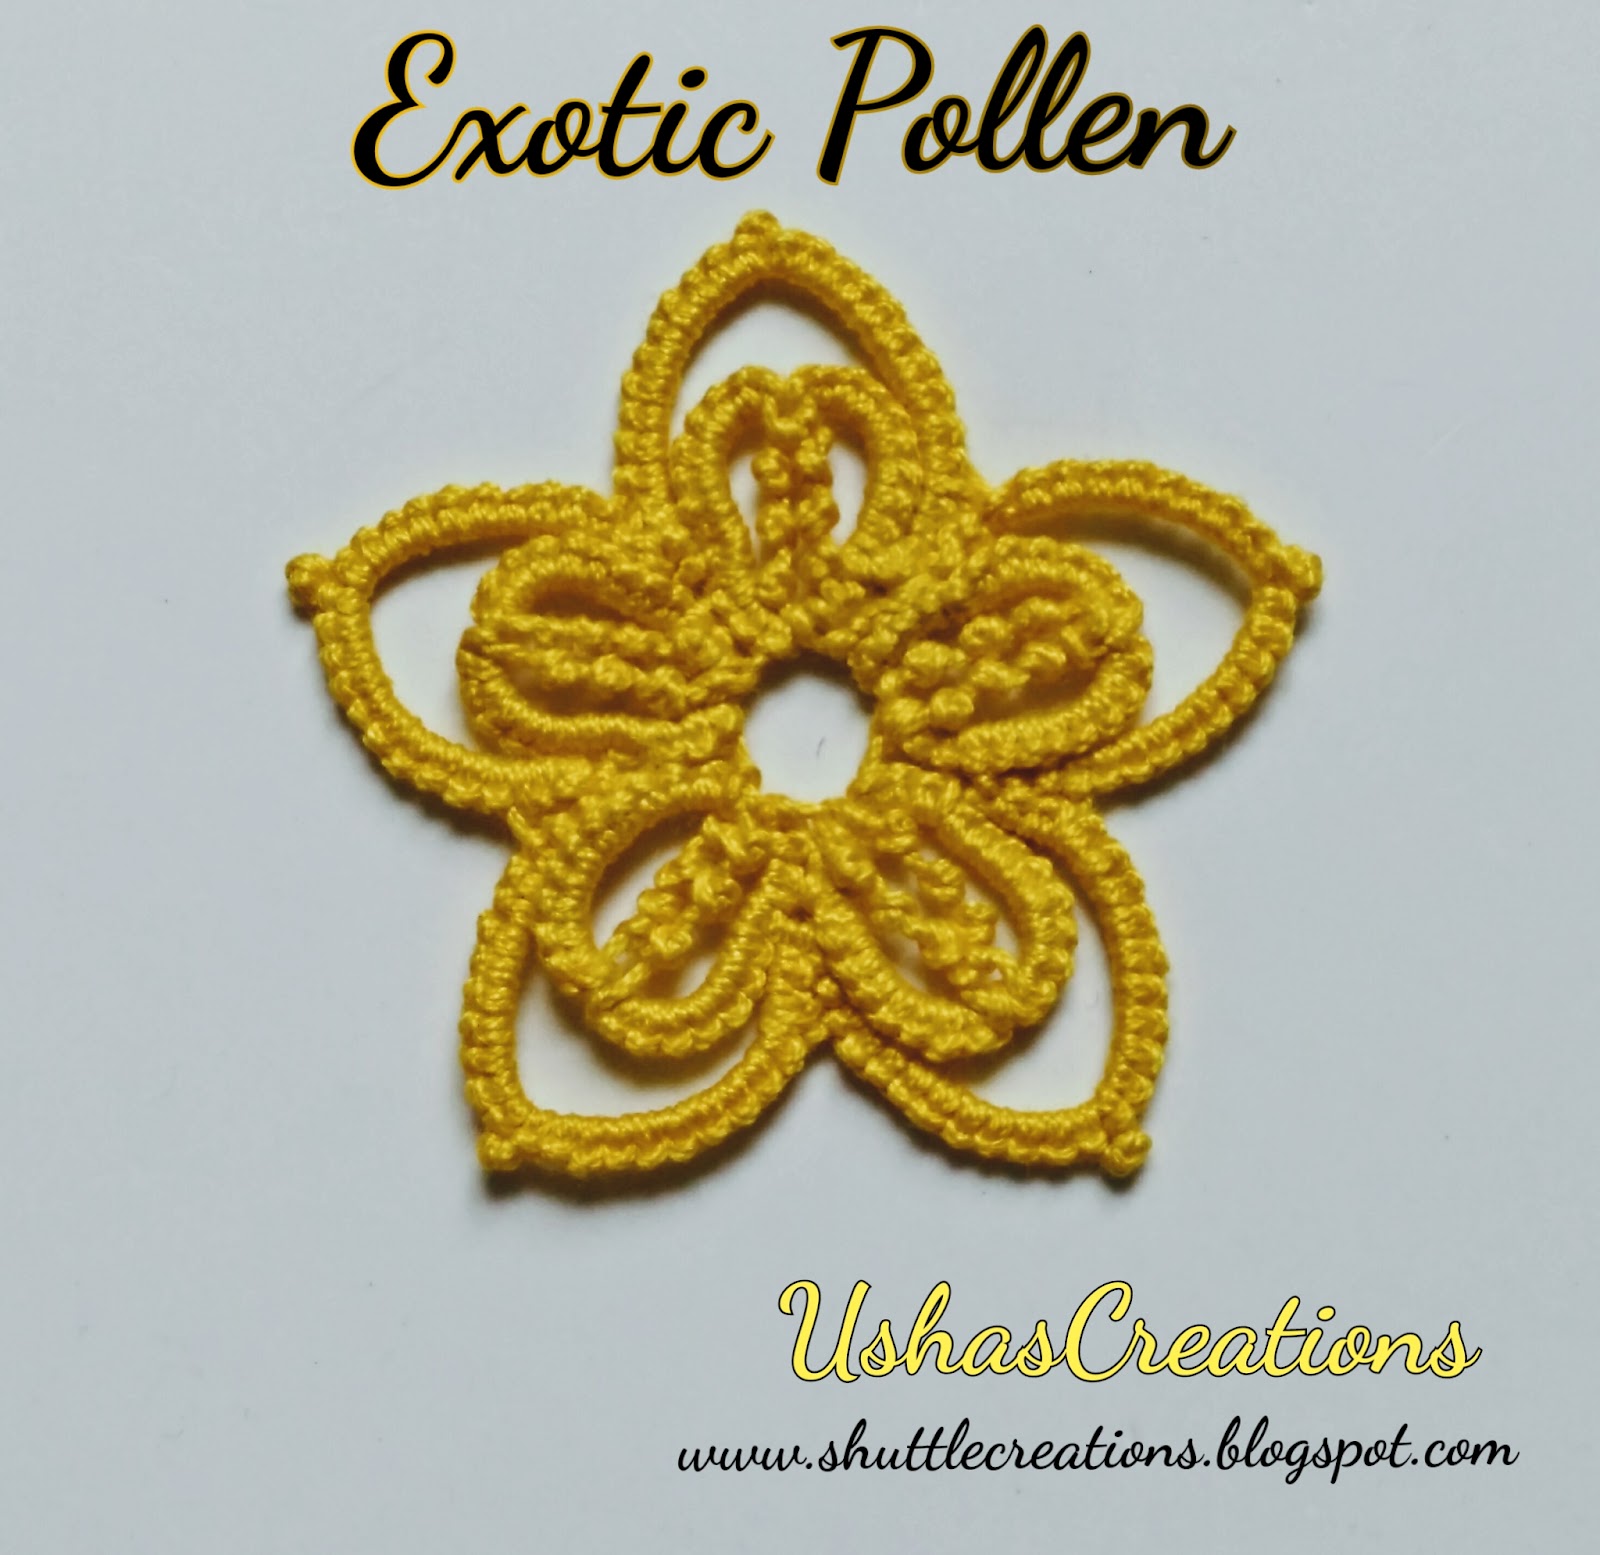
In this Exotic Pollen motif pattern, two strings of Dot Picots are placed inside rings as pollen. Until now I have tatted  Dot Picots only on chains as thrown ring of one double stitch with other shuttle  as seen in my Dreamcatcher and the pollen in this flower motif are the Dot Picots tatted with same shuttle close to each other, creating a string on bare thread.

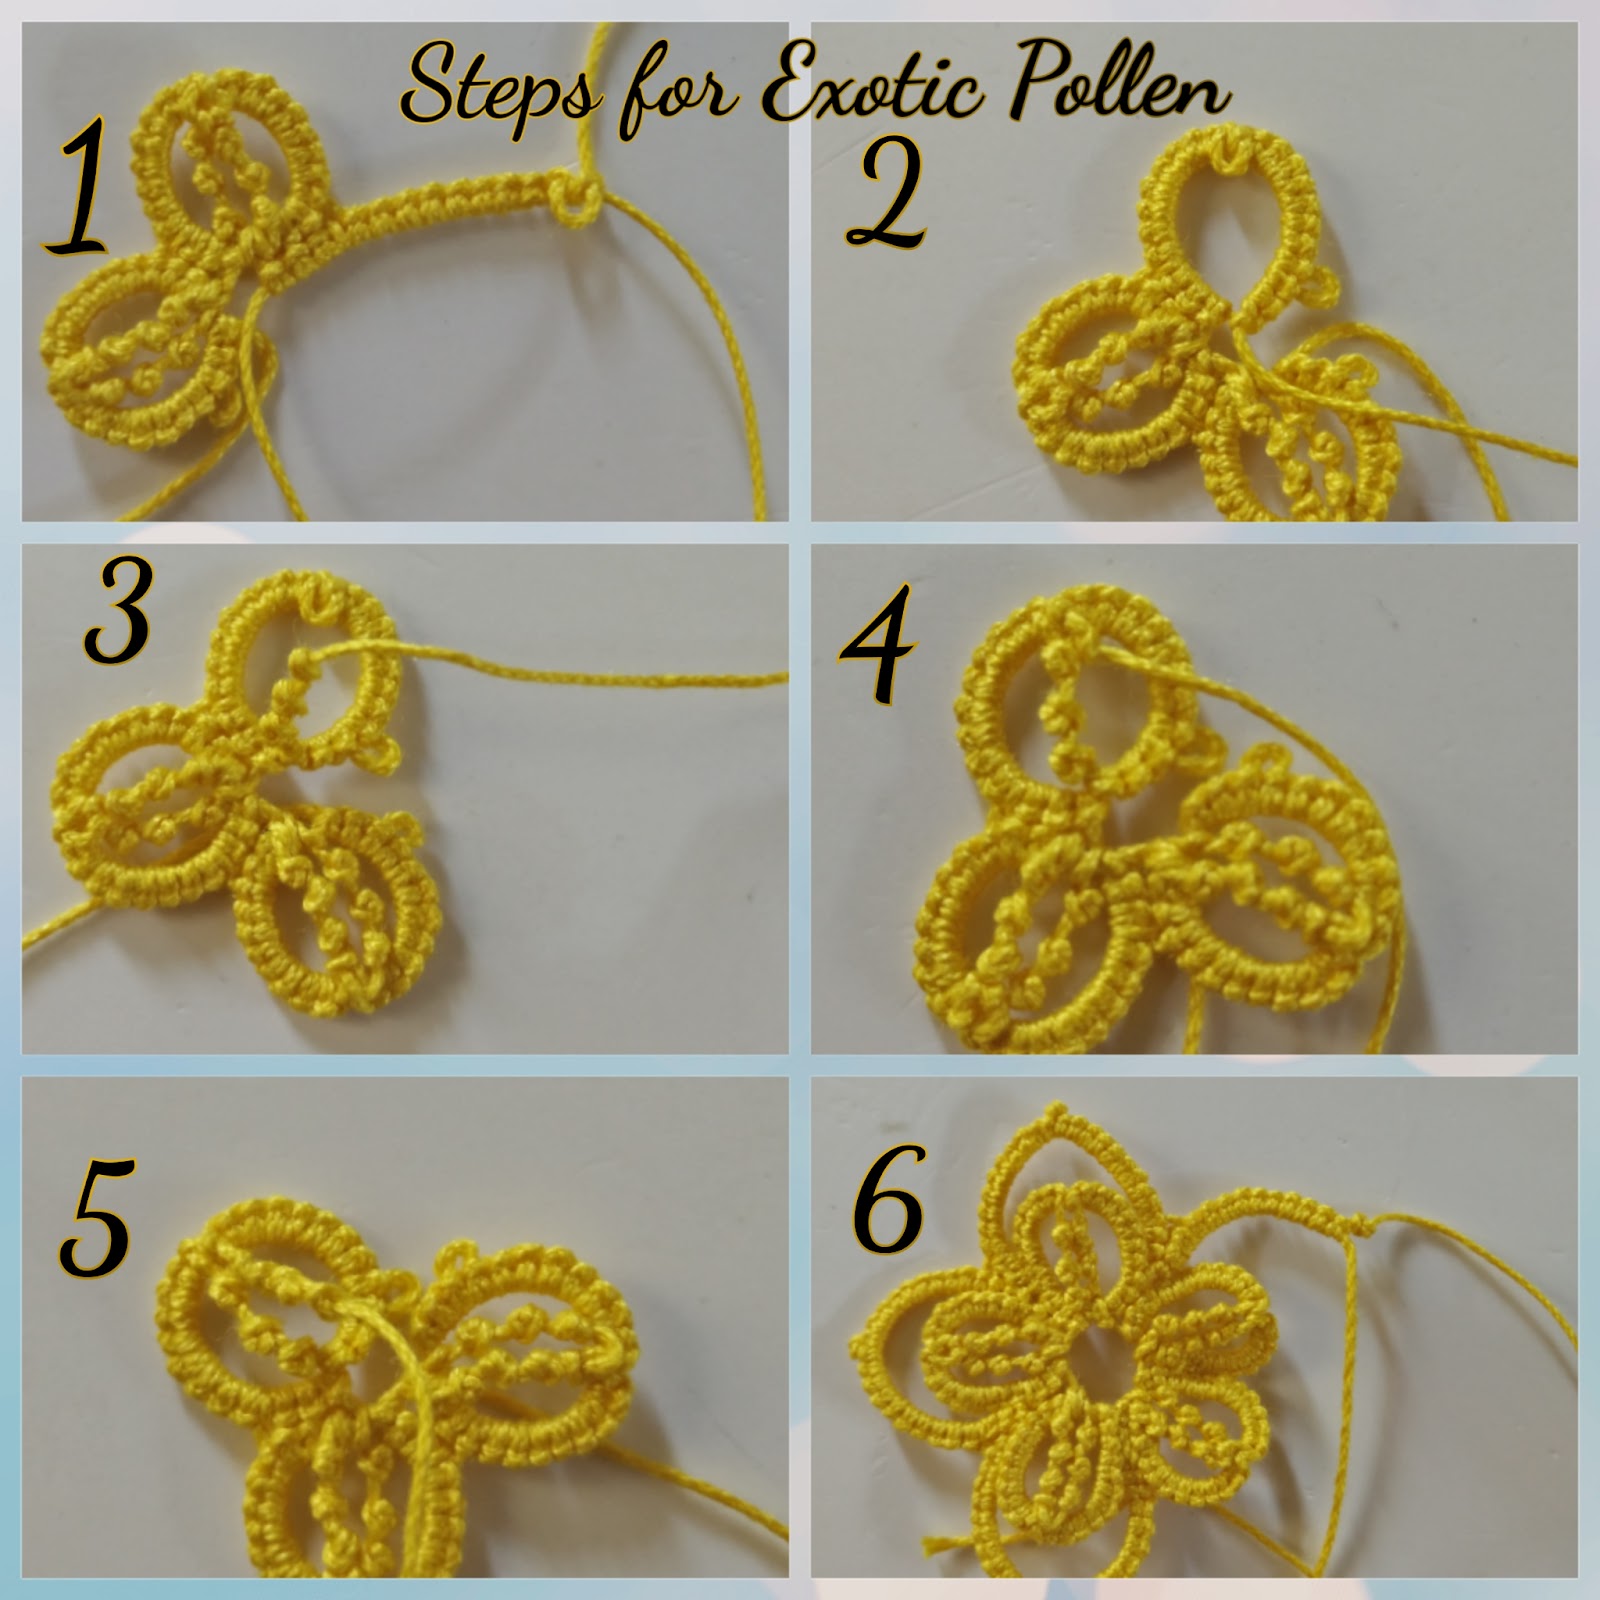
The motif is tatted in two rounds in one pass with two shuttles. The first round of five rings with an inverted picot tatted throughout with single shuttle and second round of chains above those rings as petals. The pattern is test tatted by Muskaan with beautiful variations in her unique style. I thank her for the most valuable suggestions and guidance for making videos, writing pdf pattern and this blog text too.

CYMERA_20170620_124648.jpg
Find PDF pattern here- Exotic Pollen
Find uploaded Video on How to tat Dot Picot String here-Dot Picot String
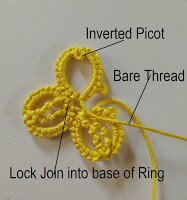
Below are some steps for your easy working
CYMERA_20170620_125808.jpg
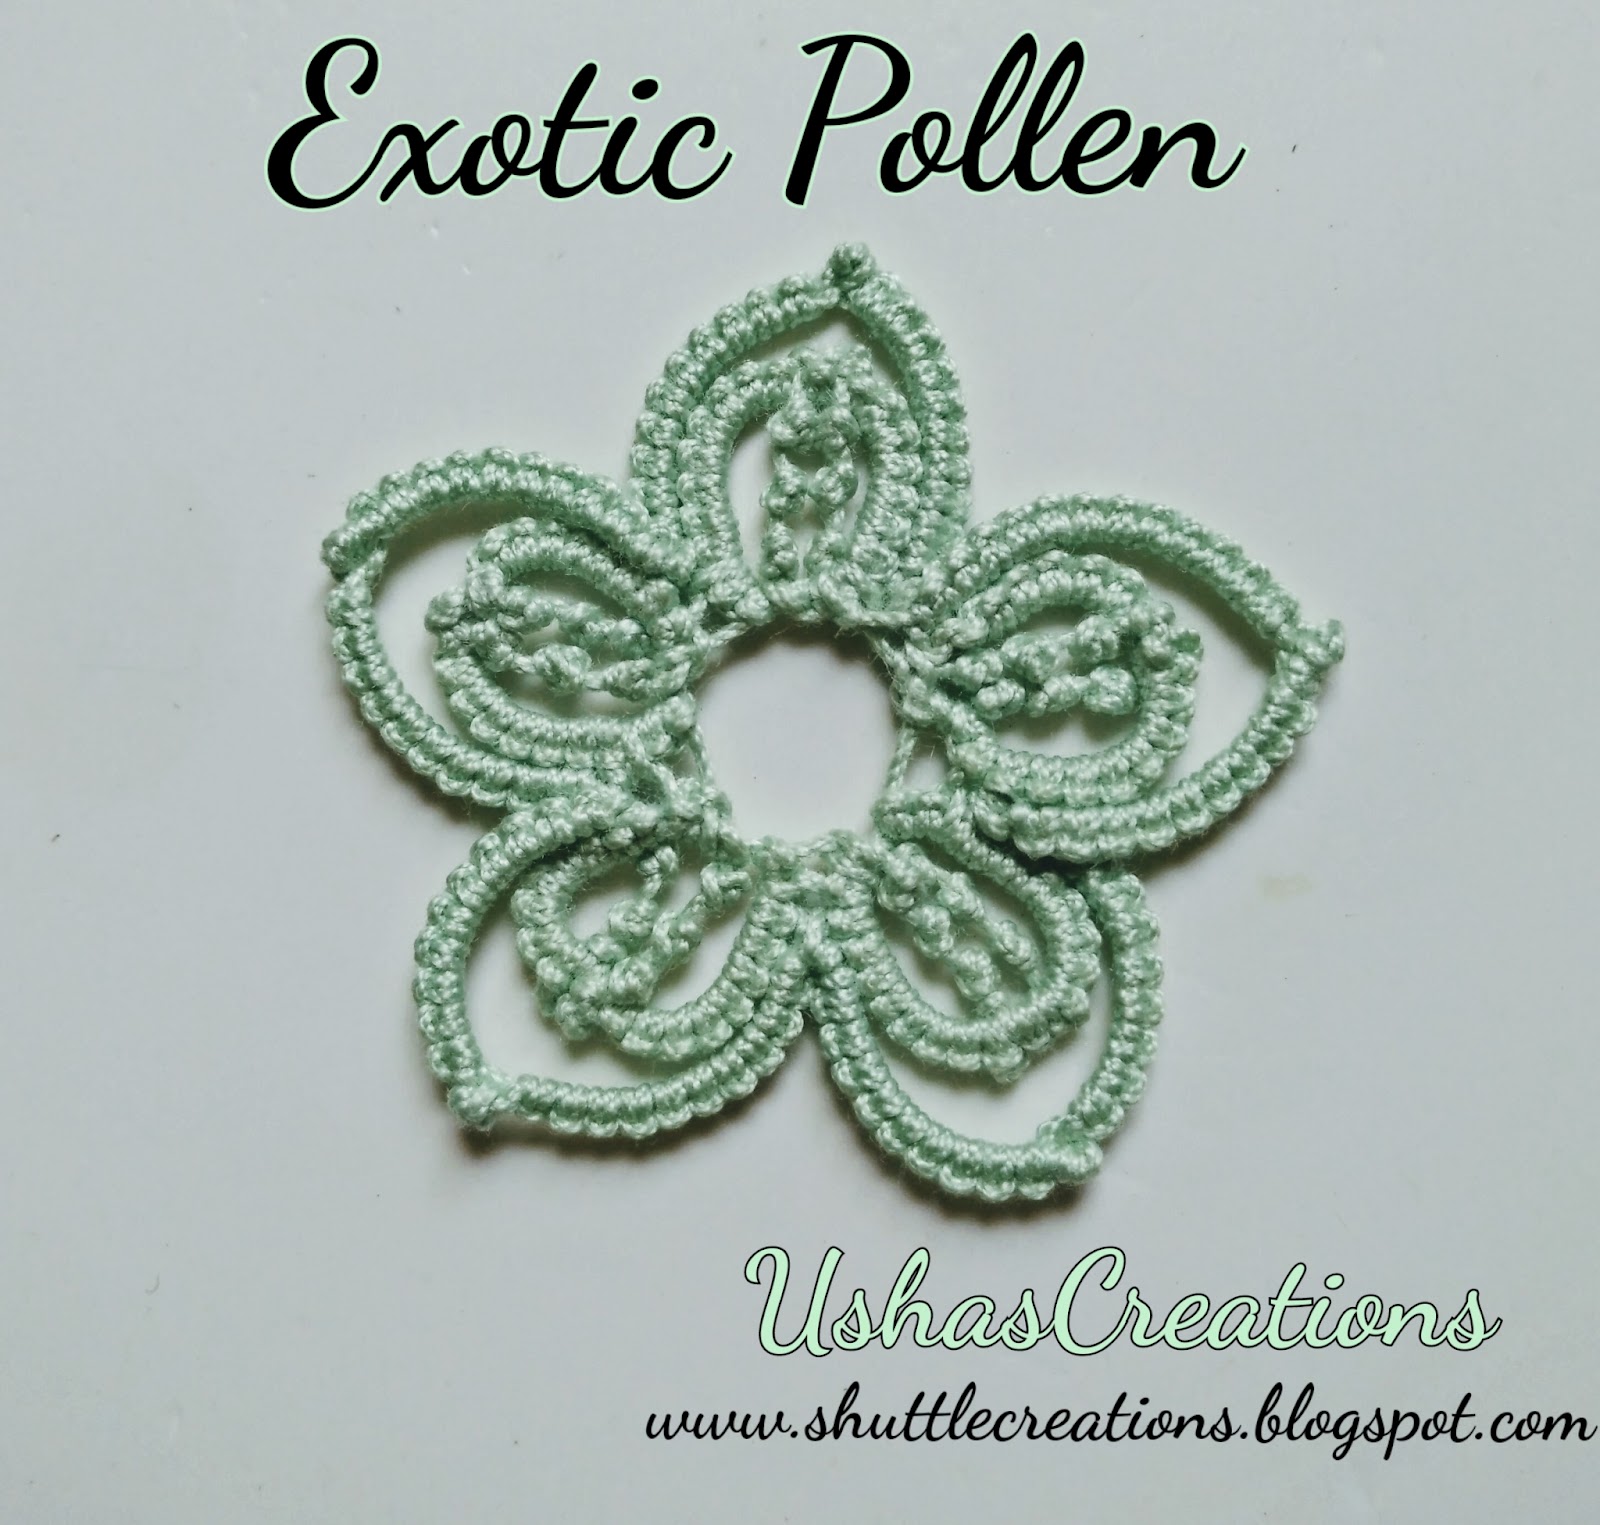
      Another color variation
CYMERA_20170620_124856.jpg
The beauty of Exotic Pollen motif lies in single color thread but one can use different color for pollen or tat complete motif in two or multi color thread.

Coming up with another post on the single shuttle laces soon where I will share my latest Dot Picots creations. So keep watching my Blog !!!


A Request for Test Tatting!!!!
 CYMERA_20170614_145758.jpg
The Fusion Elegance is a small motif measuring 4.5x4.5 cm, a  fusion of Dots and Dot Picots. My written motif pattern is ready. I am still a novice at pattern writing and tatting technicalities. Muskaan helped me immensely in test tatting for my every blog post including Exotic Pollen, in spite her busy schedule. I shall  be happy if anyone likes to test tat Fusion Elegance to make sure that the written pattern will not misguide any enthusiastic tatter.
Kindly email me if you are interested to try this out for me.
Thanks in advance.


Happy Tatting always !!!!!!!