Pages

Showing posts with label Decorative Lock Join. Show all posts

Sunday, 2 July 2017

Love This Fusion!!!

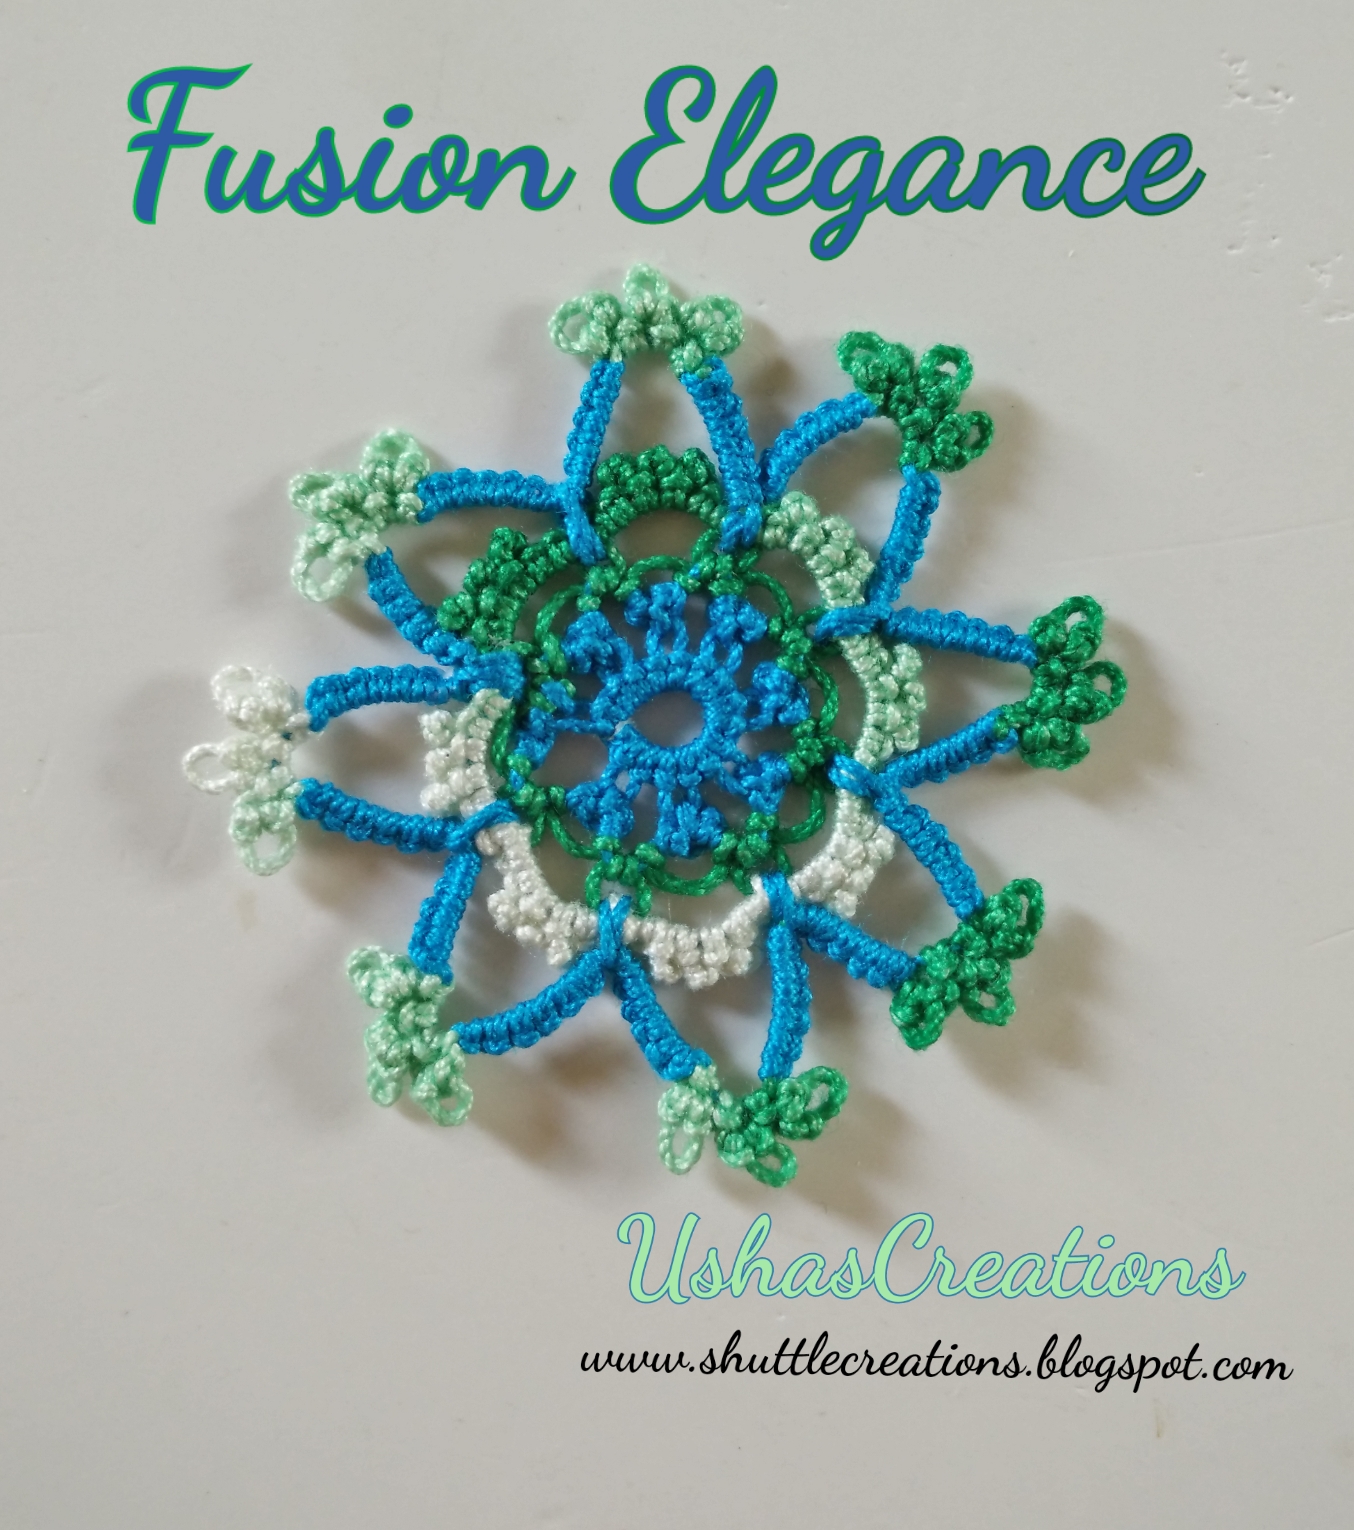
Here is a star medallion, which I have managed to tat tiny dots and tiny dainty dot picots both in one motif. It is an elegant motif with fusion of two techniques, hence I named it Fusion Elegance.
This star motif was test tatted by Marie McCurry. Her motif came out amazingly beautiful.  I thank her for all efforts and valuable suggestions for my pattern writing.
Download the detailed PDF pattern here: Fusion Elegance
I have given step by step pictorial instructions in this PDF pattern.
Main highlight of this medallion is…..
1.Small space between two chains in second round tatted with (1ds P 1ds) dots.
2.The third round is tatted with Dot Picots as thrown rings on chains.
3.Decorative lock joins made in fourth round at eight points to break continuity of one colour.
Sharing my experiment with initial pics below………..
While climbing out to second round of this motif, I was confused where to attach SH2. I needed blue color to make a mock picot to complete first round (See pic 1,2)and Split Ring for the second round. I decided to leave 7cm thread of SH1 at the beginning of the first round.
The same thread was used till I climbed out with Split Ring,(See Pic 3) reversed the work and joined SH2 to continue the pattern.
Another variation
I am glad that Marie was happy with my written instructions.
Hope you enjoy working it too.
Your comments ,suggestions are most welcome.
 Happy Tatting always........


Tuesday, 20 June 2017

String them creatively!!!


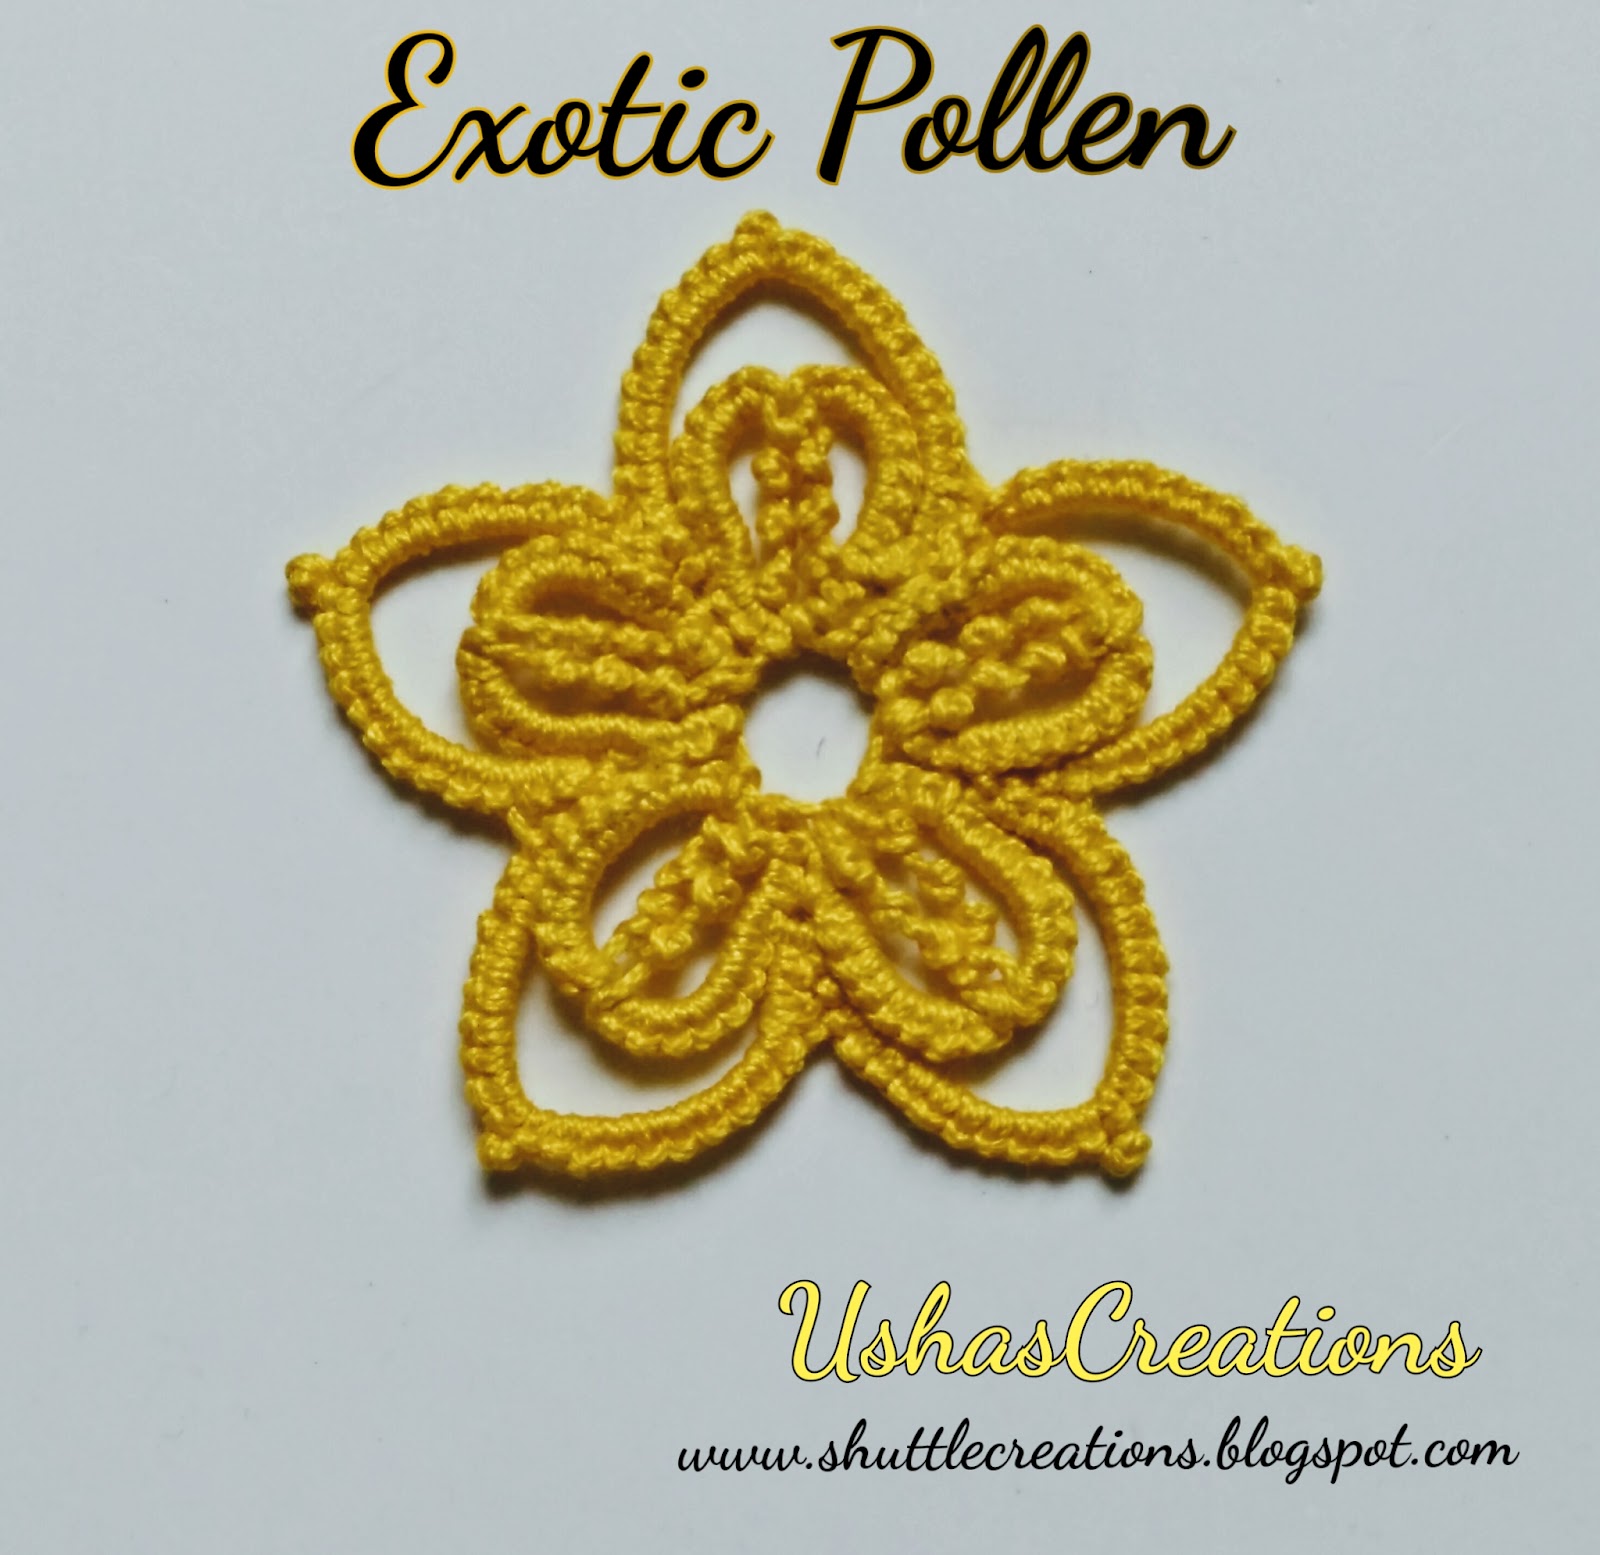
Stringing Dot Picots on a bare thread, the idea entered in my mind while creating patterns with only a single shuttle for My Tatting Group's single shuttle challenge. After seeing the beautiful effect of the string, I could not resist converting every bare thread into a Dot Picot string. I used this effect on laces with single shuttle to avoid bare thread and which made the lace pattern more ornamental.

In this Exotic Pollen motif pattern, two strings of Dot Picots are placed inside rings as pollen. Until now I have tatted  Dot Picots only on chains as thrown ring of one double stitch with other shuttle  as seen in my Dreamcatcher and the pollen in this flower motif are the Dot Picots tatted with same shuttle close to each other, creating a string on bare thread.

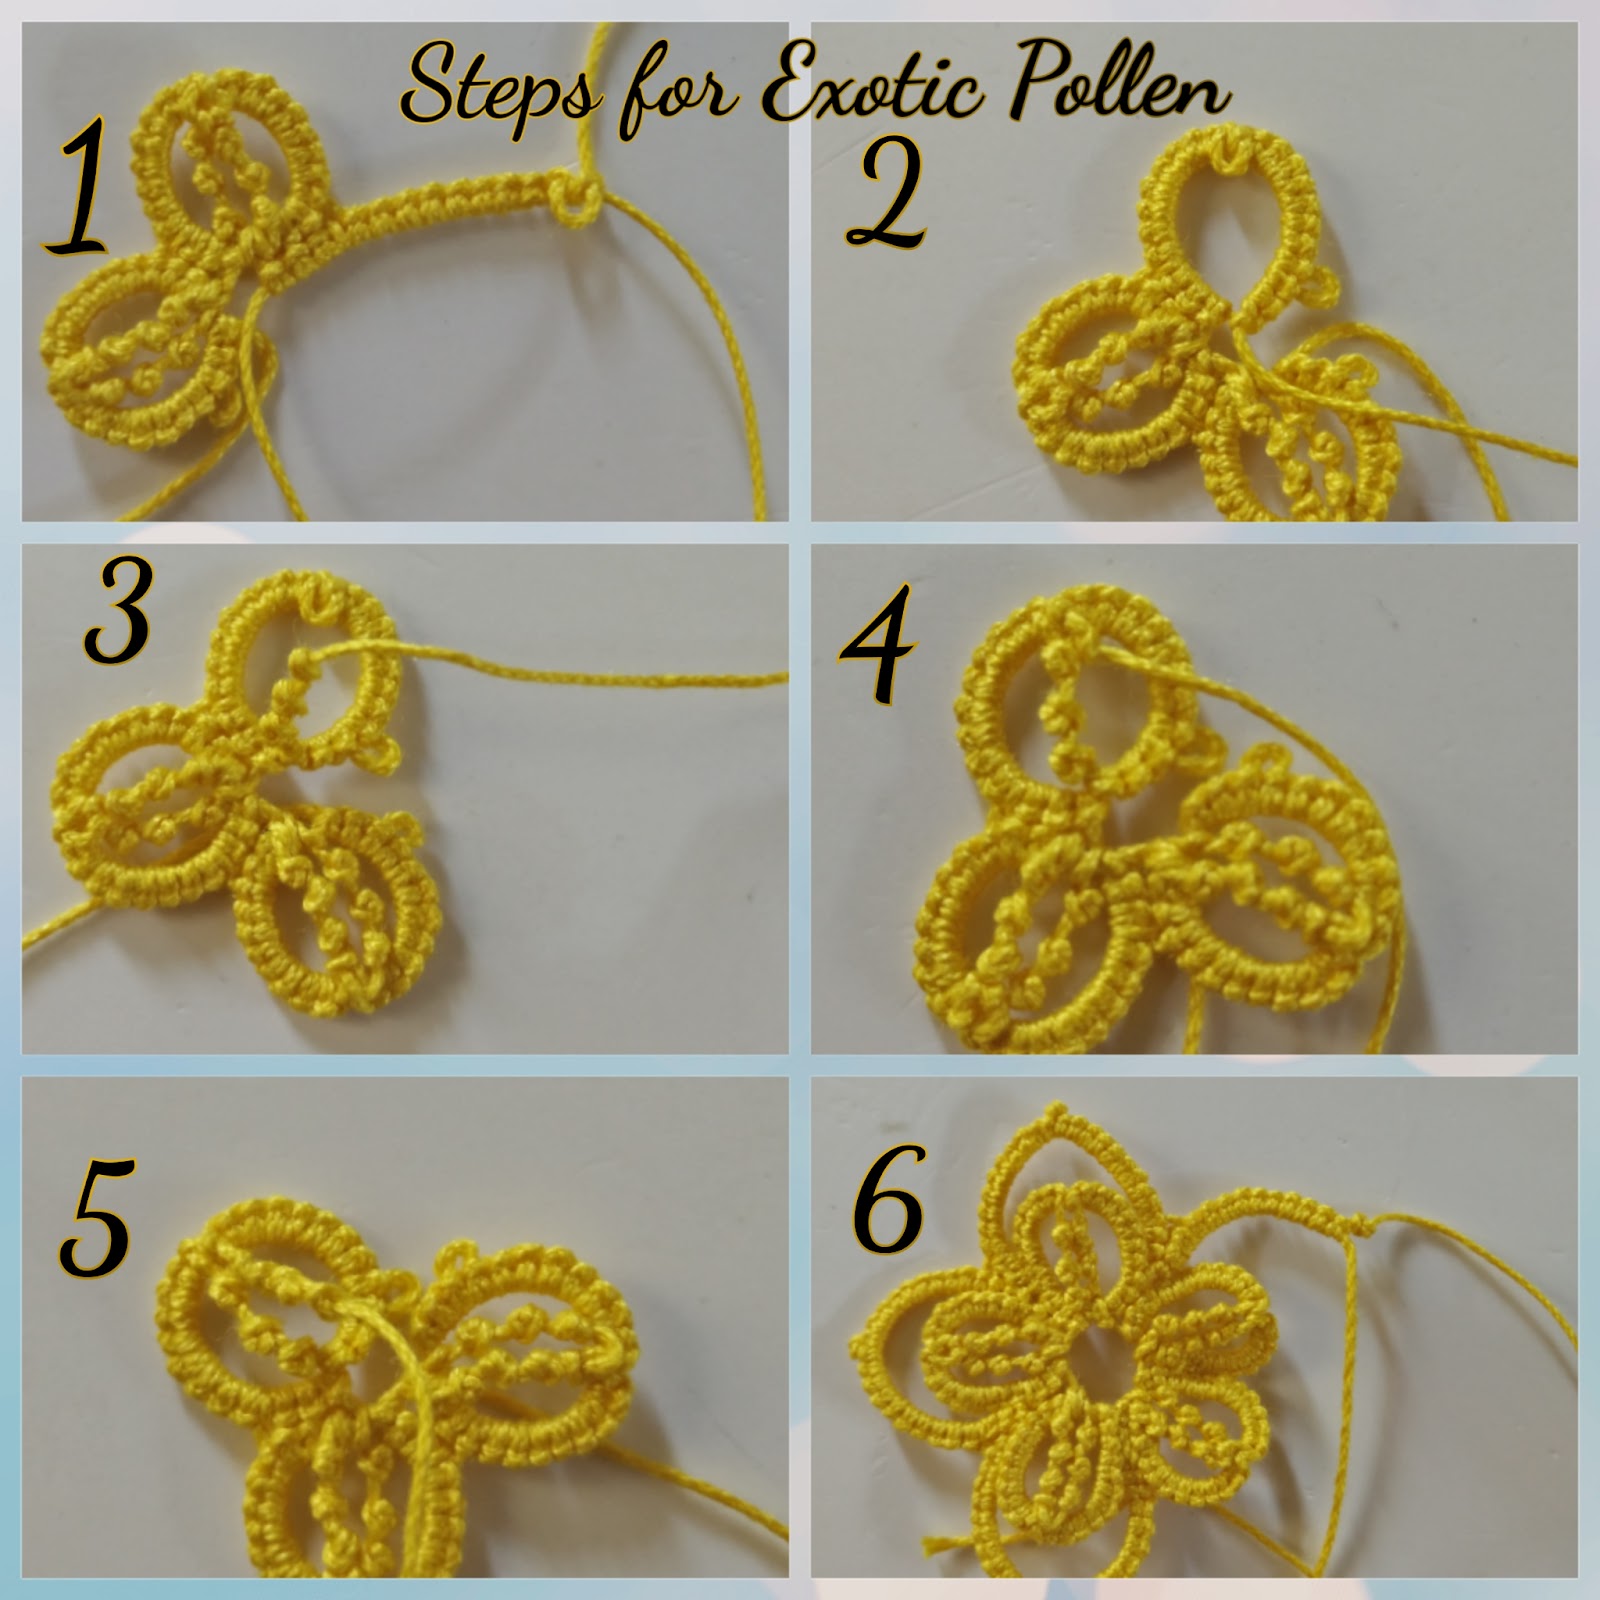
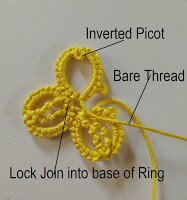
The motif is tatted in two rounds in one pass with two shuttles. The first round of five rings with an inverted picot tatted throughout with single shuttle and second round of chains above those rings as petals. The pattern is test tatted by Muskaan with beautiful variations in her unique style. I thank her for the most valuable suggestions and guidance for making videos, writing pdf pattern and this blog text too.

CYMERA_20170620_124648.jpg
Find PDF pattern here- Exotic Pollen
Find uploaded Video on How to tat Dot Picot String here-Dot Picot String
Below are some steps for your easy working
CYMERA_20170620_125808.jpg
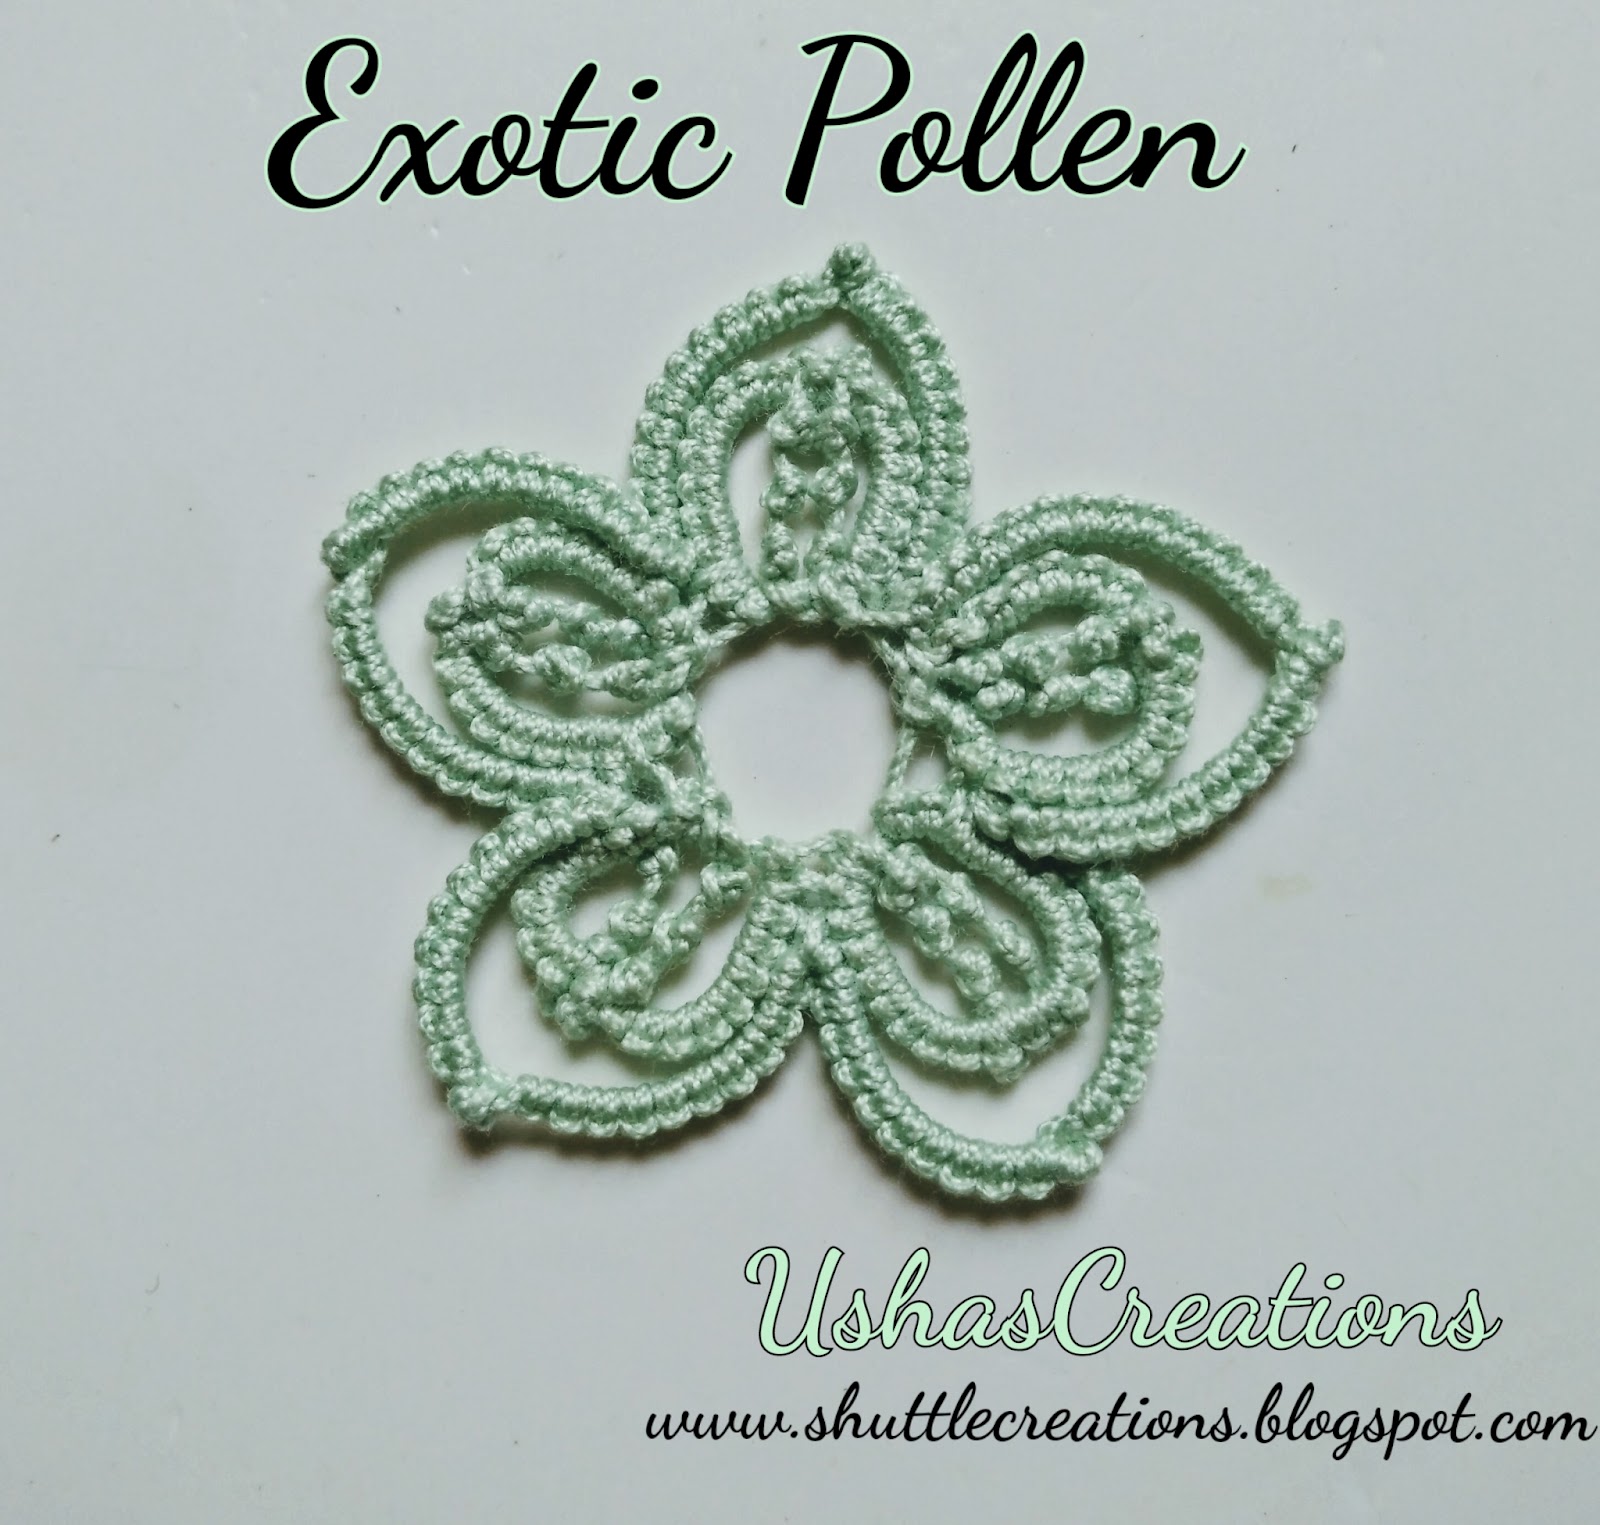
      Another color variation
CYMERA_20170620_124856.jpg
The beauty of Exotic Pollen motif lies in single color thread but one can use different color for pollen or tat complete motif in two or multi color thread.

Coming up with another post on the single shuttle laces soon where I will share my latest Dot Picots creations. So keep watching my Blog !!!


A Request for Test Tatting!!!!
 CYMERA_20170614_145758.jpg
The Fusion Elegance is a small motif measuring 4.5x4.5 cm, a  fusion of Dots and Dot Picots. My written motif pattern is ready. I am still a novice at pattern writing and tatting technicalities. Muskaan helped me immensely in test tatting for my every blog post including Exotic Pollen, in spite her busy schedule. I shall  be happy if anyone likes to test tat Fusion Elegance to make sure that the written pattern will not misguide any enthusiastic tatter.
Kindly email me if you are interested to try this out for me.
Thanks in advance.


Happy Tatting always !!!!!!!

Thursday, 25 May 2017

The Dreamcatcher updated.........

Dear Tatters,
Have you gone through my previous blog post- The Dreamcatcher??
I have been working on making the pattern easier to tat.
You will find the revised PDF pattern here :  PDFrevised 
Muskaan tatted this Dreamcatcher and found that some modifications and clarifications were needed with links.

Here are.......
The Techniques explained with respective links-

1.Dot picot : is a thrown ring of 1 double stitch, made with second shuttle
    All about dot picot , Video demo

2. Decorative lock join : is made exactly like a lock join with core thread, but at a distance, such that the loops of the join are visible. Joining loops should have just enough tension to span the distance without pulling too tight. Also find this technique in this Video demo by Daniela Mendola 

Displayed below some close up pics (see steps 1 to 4) which I had taken while tatting another color combo shown in the previous blog post- The Dreamcatcher
  
3. Decorative picot join : is made exactly like a picot join, but at a distance such that the joining loops are visible. Pictorial instructions  by Muskaan.

Hope this update will fulfil your dream to tat the Dreamcatcher with ease.

All your comments, suggestions remarks are welcome.

Happy Tatting